Monster Masks
12:35 PMI was so excited to have my first actual teaching visit this last Friday! It was a lot of fun and a great learning experience in what works with these second graders and what I can improve on for my future lessons.
The class has been learning about how characters in stories are feeling and how they react based on those emotions, so for this project I wanted to build off of that and teach them how to use lines and color to show emotion. I wasn't sure if this would be too easy or too hard for second graders since I hadn't taught them yet, but it ended up being a great concept to cover for their age level. There were some parts of this that I would change if I were to do this lesson again, but some parts that worked really well.


Subject Concepts
Content Covered: Language ArtsState Standards and Objectives:
-Use information gained from the illustrations and words in a print or digital text to demonstrate understanding of its characters, setting, or plot.
-Recount or describe key ideas or details from a text read aloud or information presented orally or through other media.
Learning Outcomes: The student will be able to recognize the meaning of details in illustrations and how the illustrations contribute to the text.
Art Concepts
Content Covered: Color, Line, DesignState Standards and Objectives:
-Use color to show mood and emotions.
-Show emotions and facial expressions using line.
Combine and overlap shapes.
Learning Outcomes: The student will be able to use color and line to convey different emotions.
Lesson Plan
Materials Needed:-"Glad Monster Sad Monster" book by Ed Emberley and Anne Miranda
-Paper plates
-Colored Construction Paper
-Scissors
-Gluesticks
-Crayons
-Popsicle sticks
Lesson Sequence :
-Read "Glad Monster Sad Monster" (point out how the different emotions are shown with different colors)
-Make a list on the board of emotions and what colors fit them (glad, sad, scared, silly, etc.)
-Show on the board how eyebrows and mouth shape change emotions
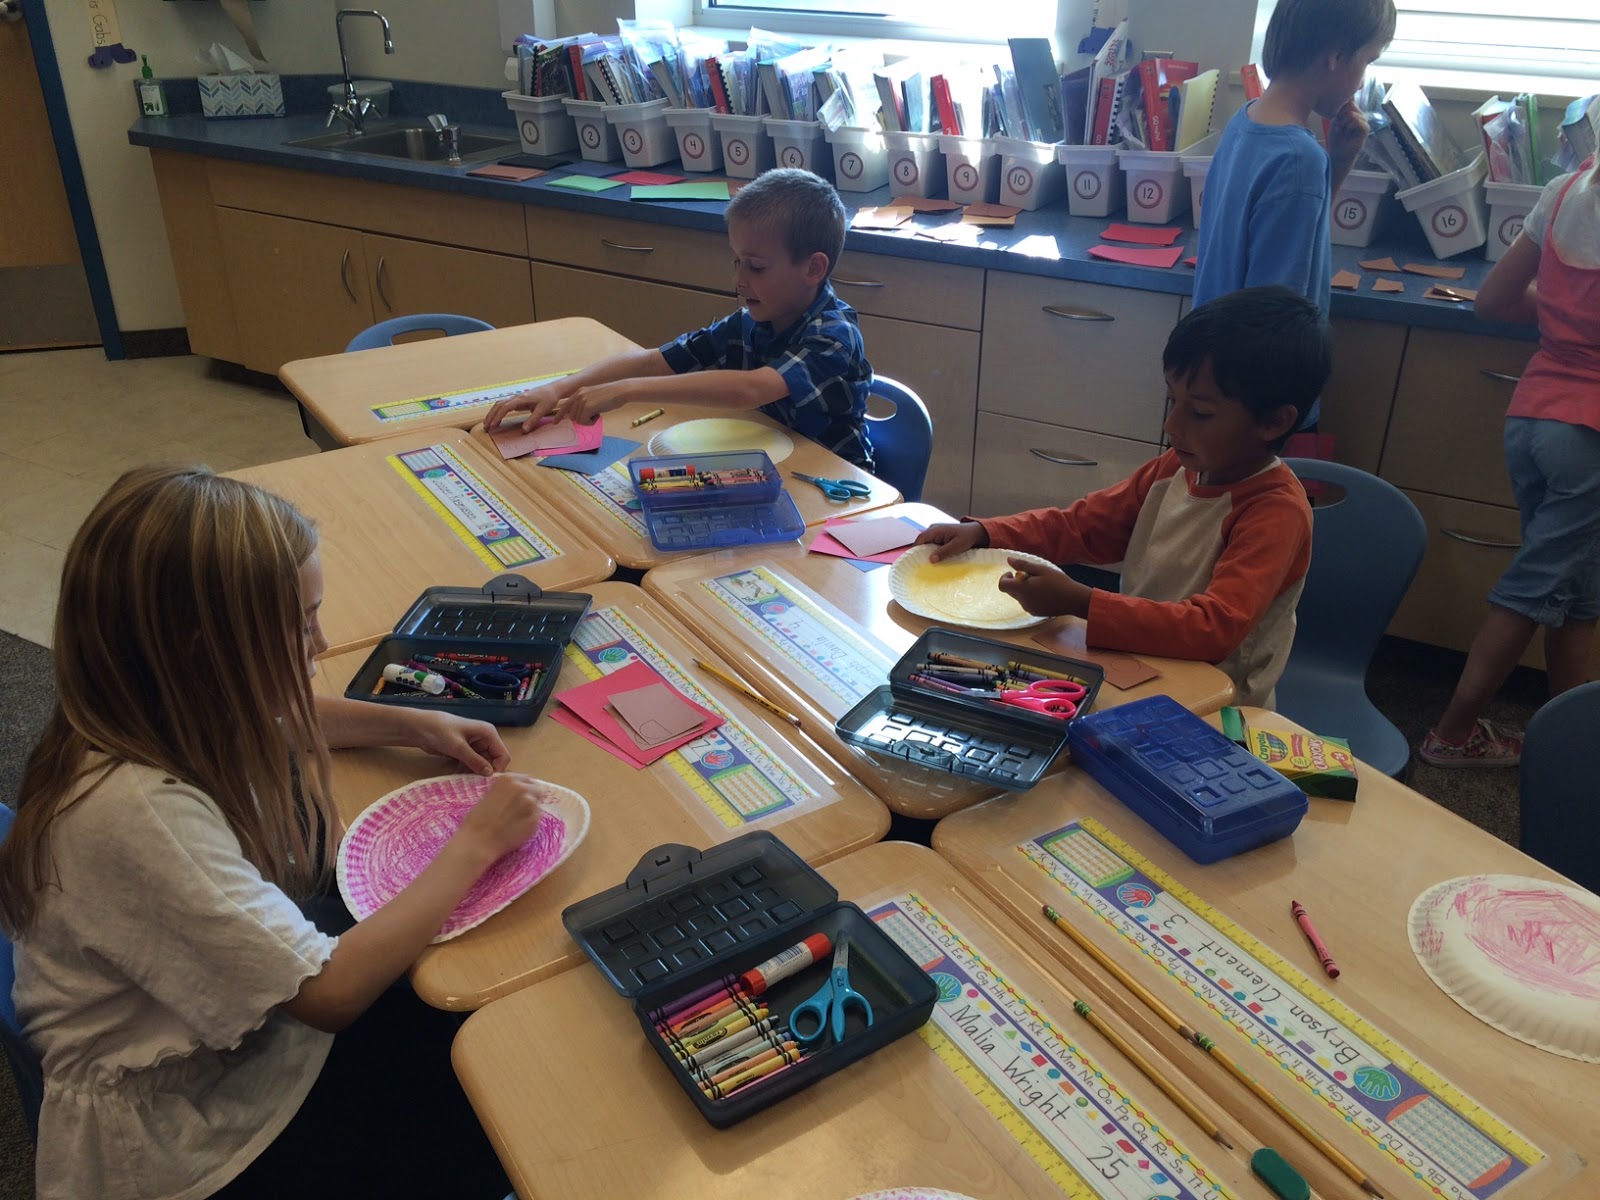
-Have students go to desks and give them each a paper plate.
-Have each student choose an emotion, then color their plate to match that emotion
-Have the students create a monster face for their emotion on their paper plate using cut out construction paper shapes
-Attach popsicle sticks


My favorite part of this was after we read the story, when we were talking about the concept of colors and lines matching different emotions. I drew a face on the board with just eyes and a nose, then I had the students come up to try drawing eyebrows and a mouth to make the face look sad or mad or surprised. The eyebrows were harder than they thought it would be, but then we referenced the pictures in the book and they started to understand what to do. It was fun to see them get excited when they were able to make the right shapes to show the emotion.
I drew some shapes for eyes, eyebrows, noses, and mouths to be copied onto colored paper because I thought it would be simpler, but if I did it again I would have just let them make up their own shapes. Some of the students did that anyway, and I was glad they wanted to use their own creativity in that way. We also decided on crayons so that they'd be able to glue the shapes on, but I think paint would have looked better in the end. The kids have a Halloween party this week so we weren't able to spread it between two weeks, but if we had more time we could have painted the plates one week a (focusing just on color) and then made the faces the next. Paint sticks also would have worked better than popsicle sticks. Just some material adjustments.
Overall my first teaching visit was a great learning experience. Now I know how well the students respond to me, how much we can accomplish in an hour, the details I need to add to my lesson plan, and how much they are capable of understanding and doing. I am excited to take what I've learned and apply these things in my next lesson plan and visit!


1 comments
Hi, Mckenzie!
ReplyDeleteI love the idea of using shapes to show emotion! I think this really brought out each child's creativity. Thank you for so many beautiful pictures too! Your blog is very engaging and informative. Keep up the good work!